
Getting Started
Domains
Admin Login & Intro
Video coming soon...
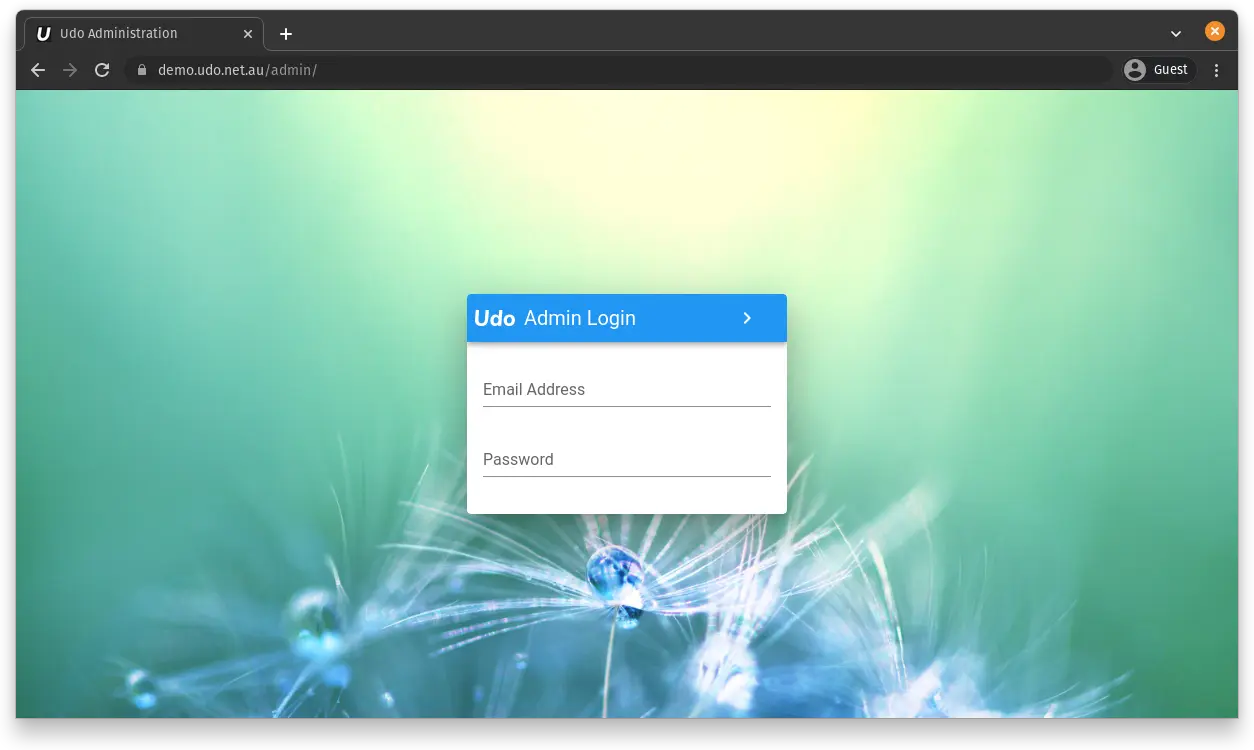
How to login to manage your U do website
- Open your website homepage in your browser and add /admin/ to the end of your domain. Eg. https://yourwebsite.com.au/admin/
Note: the last / at the end is important. - Click enter to go to the login page, see image below.
- Enter your Username, this will be your "Email Address" Same email you used in the sign-up process.
- In the Password field enter your "Password" This will be provided via email when signing up.
- Click the Go Button
Hint: To sign out of the admin area, click Sign Out in the top right corner.
Welcome to the admin area for your website. It should look similar to the image below.

Top Bar
In the Top bar, there is a Help menu, then a Settings menu, and the Sign Out button to log you out of the Admin Area & Website.
The settings menu contains the configurable options for the site. These include:
- Site Settings - Configures site-wide settings like Default Email Address, Company contact info, Favicon, Geo-Sitemap, and more.
- Analytics & Tag Manager - Update your Google Analytics & Google Tag Manager Tracking ID
- Theme Configuration - Allows changing of theme colours, fonts and sizes, and updating the base panel & button styles.
- Sign Out - Always sign out once you've finished using the admin section for security reasons.
The help menu contains the following options:
- My Guides - Open the guides sidebar, from here you can create guides to do specific admin tasks, or read your existing guides.
- Manual Page - Links to our support page where we have many help files & videos on how to edit & update your website. This is work in progress so if you can't find what you're looking for you can then lodge a ticket by emailing help@modd.com.au.
- Helpdesk & Tickets - the MODD helpdesk ticketing system, where you can report issue, and get help.
Left Navigation Pane
At the top of the left navigation pane, you will see your logo or the Udo Logo if no logo has been set up.
In the left pane you will see a menu with the different sections for your website. Click on a section to view all, whatever you select from this menu, will fill the main area with a list of that type of content. To open any in the list double click or select and click on the edit button top left. To create a new item click on the create new button top left.
Hint
Folders: Below the logo is the Folder selection. This allows you to switch into different folders, create new folders, and manage the permissions within each folder. Folders can be used to run multiple websites from a single admin area, or provide secure areas on your website (Eg. members portal, intranet, etc)
Site Dashboard
The dashboard shows a summary of the visitors to your website.
By default, the graphs display the number of visits to your website last month. A visit is classed as a person who has viewed one or more pages on your site, these are broken down by device type (Mobile, Tablet and Desktop). On the top right there is a menu where you can change what your viewing. Other options include:
- Visitor Activity - See an overview of your website visitors, and how many pages there are visiting.
- Visitor Sources - See where you visitors are comming from (social media, search engines, direct links, email campaigns, etc)
- Realtime - See realtime visitors on a map, and also a lsit of realtime activity, including what pages have been viewed, where the visitors is from, and what technology they are using.
- Map - See where in the world your visitors are comming from
This dashboard allows you to get an idea of what is happening on your website very quickly. You can easily see what times of the day and days of the month are more popular.
Main Admin List Area
When you first Login to your Admin area, you will see the dashboard in the main area, once you choose a module from the left, all of the items from that module will list in this area.
Once you are viewing a list, you will see a Toolbar across the top of the area. Some of these functions work on the selected items. You can select multiple items by Shift clicking to select a range, or Ctrl (Command on Mac) clicking multiple individual items. The basic functions provided are as follows

From left to right:
- Delete (Bin Icon)- This will delete the selected items. These items can be restored from the trash for up to 14 days.
- Create (Plus Icon)- Create a new item from this module (eg New User, Page, News Post, etc)
- Edit (Pencil Icon) - This will open the selected items for editing. (It will be disabled (greyed out) until you select something in the list)
- Enable/Disable (Pause/Play Icon) - Quicky enable or disable the selected items
- Import (In Icon) - The import menu, give you the ability to import CSV and Excel files into your system.
- Export (Out Icon)- Export items from the current module to a CSV File
- Search Box (Magnify Icon) - Enter terms into this box to quickly search the current module.
- Sort Menu (Up Down Icon) - Change the order of the list, by default its by name.
- View Menu (Cards Icon) - Change between List View and Extended List view. Some items can be viewed in a calendar view. The extended list view provides more information (eg. In the emails module it shows delivery statistics)
- Overflow Menu (3 Dots Icon) - Icons that dont fit on the screen are accessble from here (eg on mobile, or when the editor is open)
Hint:
Those items that appear faded out have been disabled, and are only viewable to the site administrators, and not to your visitors.
Editor Window Panels & Tabs
Once you have created or opened an item, a panel will slide open and appear, on the side of that panel, you will see a small coloured label box, with the title of the item you are editing. Clicking this for the active editor will cause this to minimise to the right, so you can see what's underneath. If more than one editor is open, you can switch between the editors by clicking on the label boxes of items opened. Note: it is important to click "Go Live" on all opened panels to save if you have made any changes on them.
On the main editor panel at the top there are some functions which are consistent between most items that are editable.
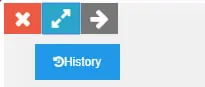
On the top left there are the follow buttons:
- Red X Button - Close the current item without saving your changes
- Grey Arrows Button - Toggle the editor as full-width, will turn Aqua, click again back to standard width.
- Grey Right Arrow Button - Minimise the editor, so you can use the lists below.
- History - shows all the versions of this item. A version is created when any change has happened. You can restore any previous version if necessary.
And on the top right, there are two additional buttons:
- Save Draft - saves item as a draft. Not live.
- Blue Duplicate Button - Make a copy of this item.
- Green Go Live - Save the changes and make them 'Live'.
