
Getting Started
Domains
Add an Art Print
Adding art prints to your website
To add an art print is easy, click on the Green Button "Create Art Print" as seen in the image below and then follow the points listed.
HINT
To save at any time click on the green GO LIVE button top right.
Step 1 - Print Information
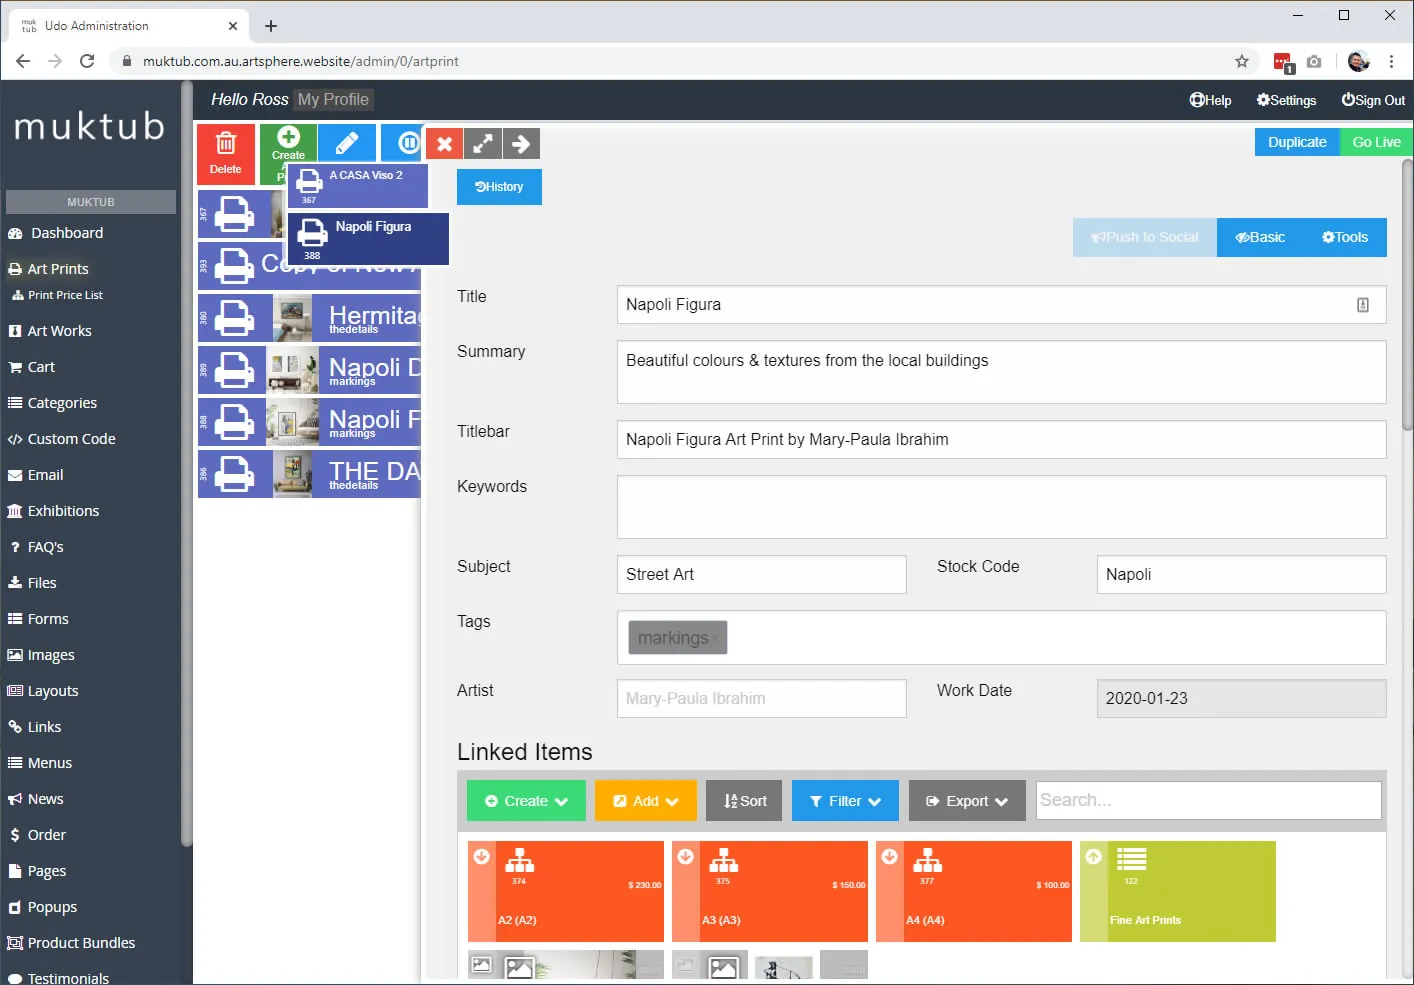
We highly recommend filling out as many fields as possible including a good description of your artwork giving it as much potential as possible to be found art lovers are searching online in Google.
- Add the name of your art print to the Title field
- Add a short description about the art print (approx 160 characters)
- The title bar is optional, allows you to place more keywords for search engines. Example "Napoli Figura Prints by artist your name"
- The subject of your artwork - example "Colourful Buildings in Street"
- If you have a stock code for the art print place it here
- The artist name will automatically populate with your name, however, you could change the name for another artist if needed or if the work was created with another artist.
- The work date is when it was created
Step 2 - Linked Items section - Adding Images Sizes & Categories
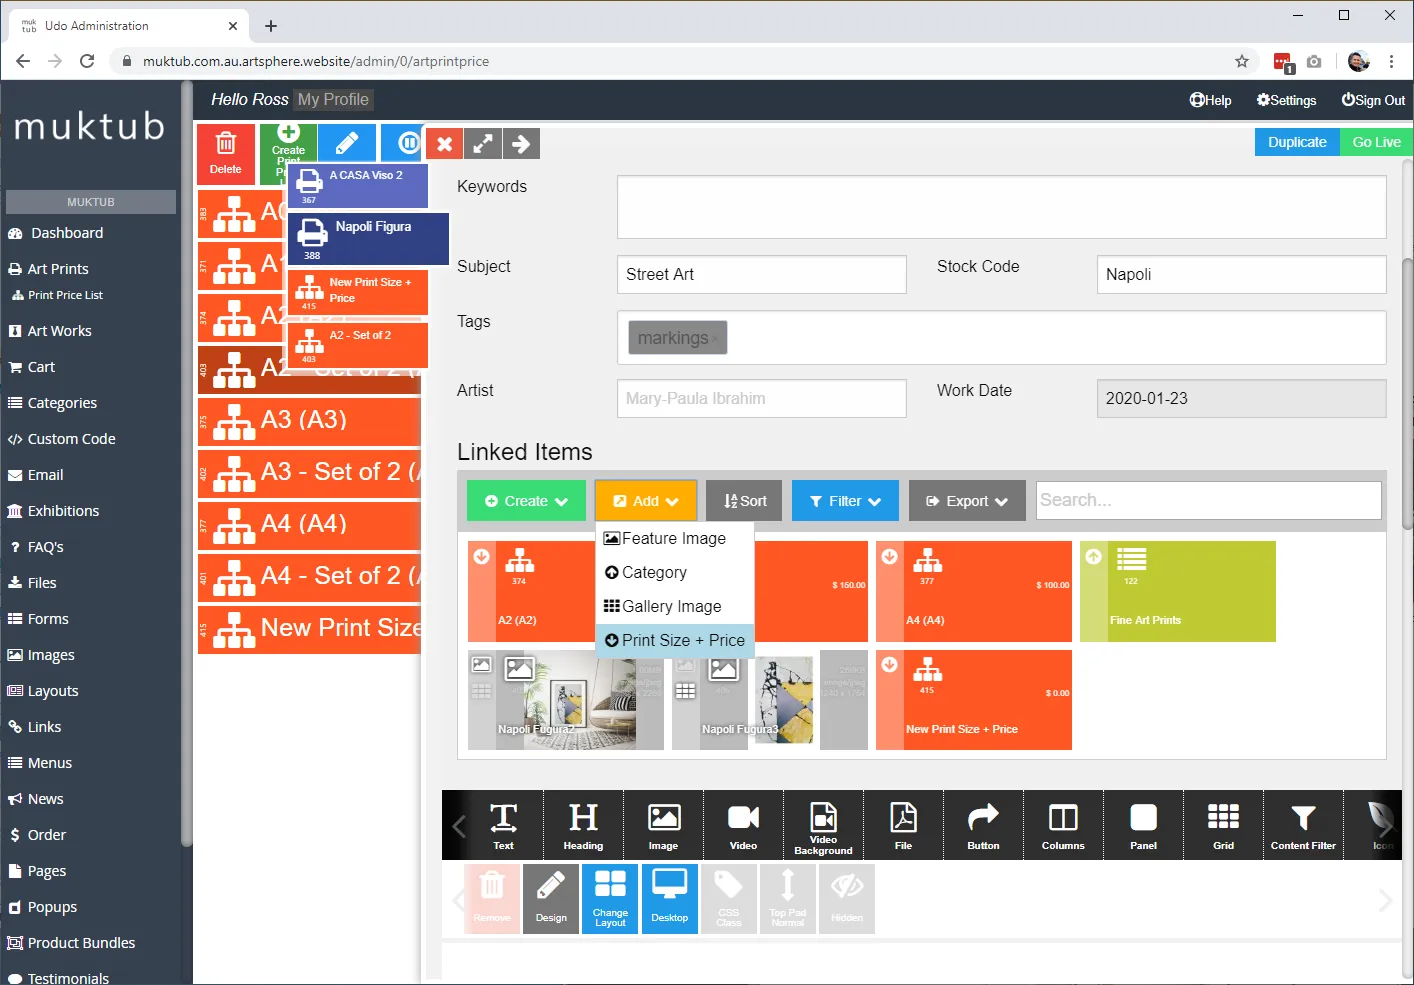
- To add the image or images of the Art print , drag your image or images into the Linked Items area and drop. The images will automatically upload and attached to this Art Print. You can also add images by clicking on the yellow ADD button and selecting the type of image you want to upload.
- If you have multiple images 1 will need to be set as the featured image and the others as a Gallery image, See little icons on the images in the linked items area. You can toggle between the different types(Featured or Gallery) by double-clicking on the small icon to the left of each image. To remove make sure both icons are faded out.
- If you are using categories then click on the yellow ADD button and Click on the Category in dropdown list and select the category for your artwork to go into.
- To add print sizes + prices if selling either click on the yellow ADD button if already created or the Green Create button to create.
- Add Print Sizes + Prices ( Already exists)
- Click on the Yellow ADD Button and then select Print Size + Price, choose the sizes of the Print you are showing or selling. The Sizes will then show in the Linked Items area.
- Repeat to add more sizes or hold down the Ctrl or command button to select multiple
- Create a New Print Size or Price
- Click on the Green Create and then select Print Size + Price
- A slide-out window will appear allowing you to create the Size required
- Title - Name of Size, for example A4
- Summary - This can be used to give a short description for an example (ie. Printed on high-quality museum grade 100% cotton 310gsm)
- Medium - could be the quality of paper/material used
- Stock - if you have stock number place it here
- Dimensions - The size of your print
- Shipping Price - If you charge shipping you can place this here, if not just leave on Default
- Price - Add the Price of the Print including GST
- Go Live top right of popout window.
- This will close the window and take you back to your Art Print.
- Repeat if more than 1 size.
- Add Print to category
- Click on the Yellow ADD Button and select Category, slide-out window will appear, select the category for this Print by double-clicking or click on the category to select and then click on the green Select Button top right in the slide-out window.
- If the print is in Multiple categories repeat.
- Add Images for your Print - we have 2 options to add images
- Drag and drop images
- You can drag and drop images from your desktop or folder straight into the Linked Items area, They will automatically upload and attach to the print. A print can have multiple images if needed. On each image card, you will notice a little icon to the left highlighted, either and image icon or a grid (gallery). Click on the icon to toggle on and off, Greyed out means off. If you scroll over the icon it will tell you what it is for. Image icon is the Featured Image for the print, we only need 1 of these, The grid icon is the Gallery image, you can have many, these will appear as a gallery under the mail feature image allowing browsers to view all images in a slide show.
- To remove an image make sure all icons on the card are greyed out, once you save (Go Live) it will disappear.
- Add Images
- If your image is already uploaded to the admin area then click on the Yellow Add Button and either search for the image by name or scroll to find, double click to add or select image and then click on the select Green Button.
- Repeat again to add more images or for adding multiple images hold down the Ctrl or Command keys and select multiple.
- Create Images
- Click on the Green Create Button and then select the type of image ( Feature Image, Gallery Image), A print will always need 1 x Feature image. To show multiple images then add as many Gallery Image as you like.
- Drag and drop images
- Add Print Sizes + Prices ( Already exists)
You can Go Live to save at any time, this will close the window down so you will need to go to Art Prints to re open.
HINT
You can select mulitple items when adding to the Link items area by holding down the Control Key (Ctrl) for Windows or the Command Key on Apple Devices.
Step 3 - Add more information about artwork
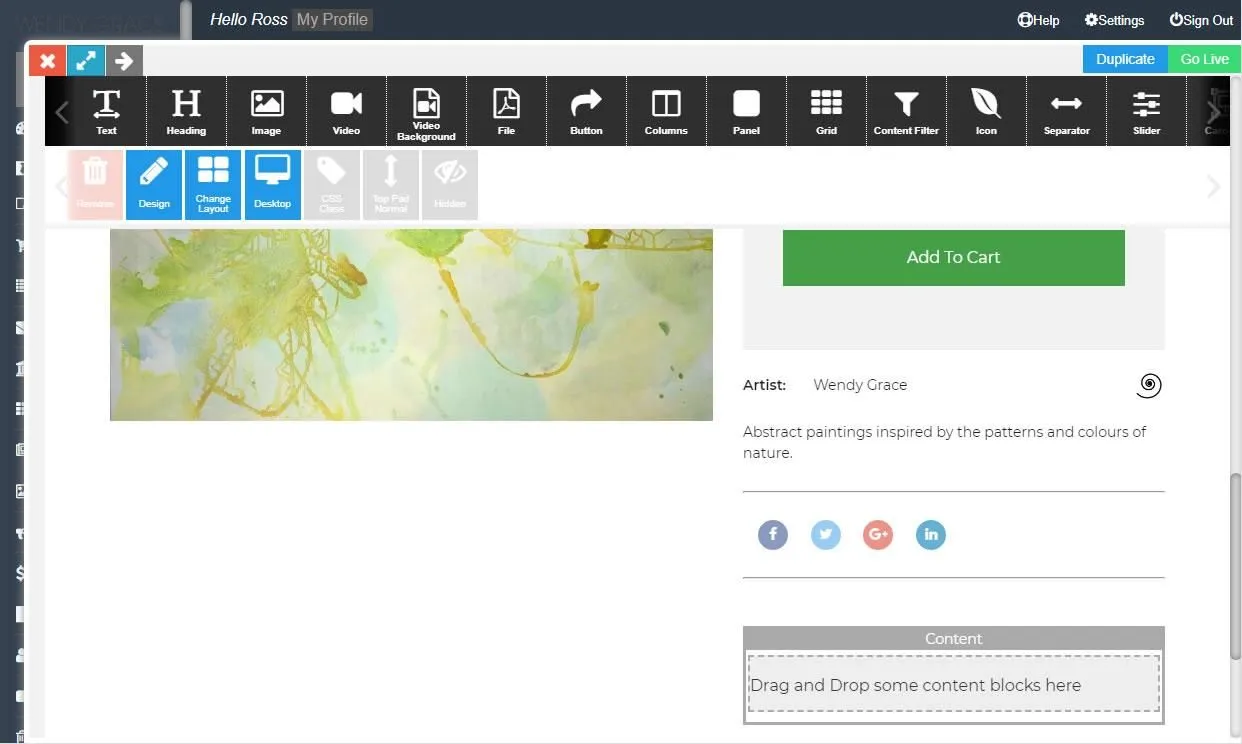
If you want to add more information about your art Print then do the following.
- Scroll down in the admin section until you can see the grey Content area the Drag the Black "T text" Icon into the content area by clicking on the icon and then dragging into the dotted area in the grey content block. The grey dots will turn red when you can drop the Text block.
- Click inside the text area and start typing.
- Once you're finished then click the Green "Go Live" button top right of the page.
Don't forget to check from the front end of your website that everything is correct and presented well.
Bulk uploads
We have other options available if you have many works to upload. Please call or email us to discuss.